
When working on your gauge swatch for a crochet pattern, it’s AMAZING when we meet gauge on the first try using the same hook size and yarn weight as the designer. Sadly, it doesn’t always work out that way. You may need to go up or down a hook size to match the gauge in your pattern. But sometimes THAT doesn’t even work out…
What if you meet the prescribed stitch gauge (number of stitches across 4” / 10cm), but your row gauge doesn’t match.
This can be frustrating– if you change hook sizes, the stitch gauge will change, no longer matching the pattern. We DON’T want that because it means that your finished object won’t match the dimensions you’re expecting.
If you ONLY need to adjust row height, keep on reading for the solution…
Solution for Fixing Your Row Gauge
The technique I’m going to share in this post will allow you to adjust your row gauge without changing your stitch gauge. When you meet the prescribed gauge, you ensure that your finished object will match the expected dimensions of your pattern schematic.
When you’re off on gauge, even by just a bit, the dimensions of your finished object can be thrown off significantly! If you’re making a garment, this can cause it not to fit correctly, and you’ve wasted precious time making something you may not enjoy wearing.
If you want to learn more about the basics of gauge, first check out my post on how to swatch here. Then come back to this post to learn how to adjust your row gauge without changing hook size.
Cue the Golden Loop Trick
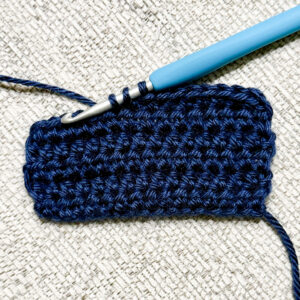
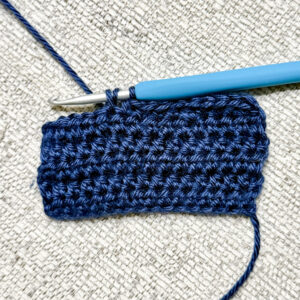
The “golden loop” refers to the very first loop on the left side of your hook when making a new stitch. For example, with single crochet, we insert the hook into the next stitch, yarn over, and pull through. That first loop that you pull through is what we are referring to as the “golden loop”.
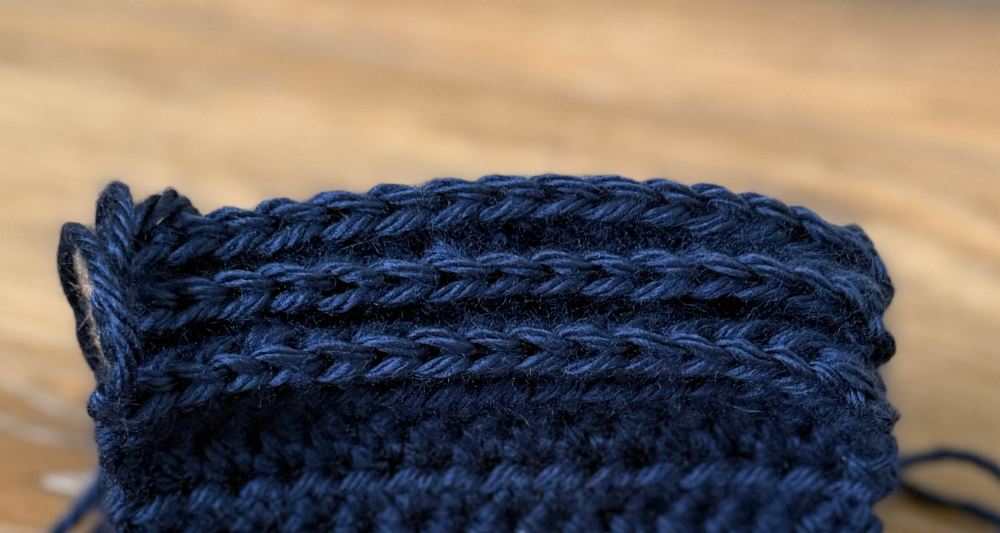
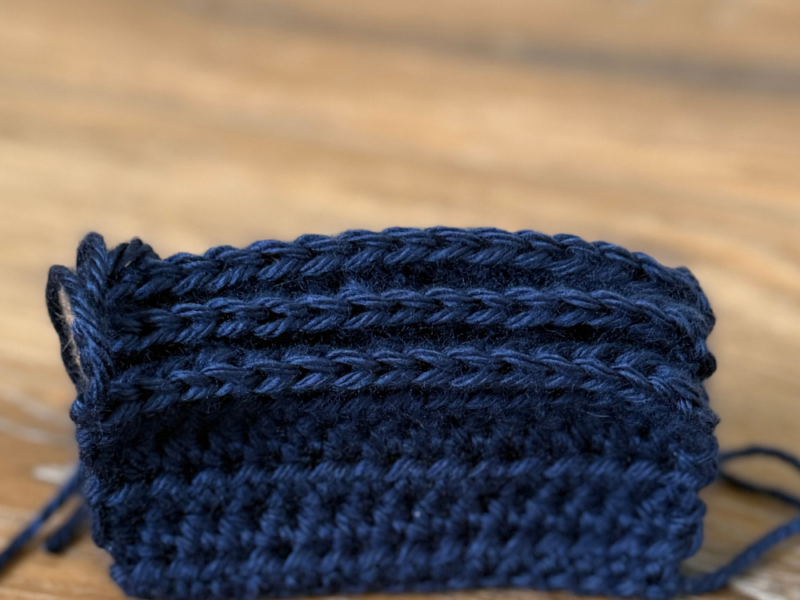
How to Shorten Your Row Height: Pull the first loop of each stitch so that there is no space between the hook and your previous row. You can try holding your hook with the handle angled slightly upwards towards the ceiling, and the hook-end angled downwards towards your work. You want to pull tension on that first loop to keep the stitch height short.
Average Row Height: Work with your hook held parallel to your previous row. Create a tiny bit of space between the hook and your previous row as your first loop is pulled through each stitch. The hook is resting on top of your previous row, and the tension of your working yarn is more relaxed.
How to Make Your Row Height Taller: After inserting your hook into the next stitch and yarning over, lift the hook up from the previous row before pulling the loop through. You can play with how much lift you create with the golden loop… just be consistent when you find the height that works.
If you need a bit more support, here’s a great Youtube video that demonstrates the Golden Loop.
Note of caution…
If you work extra tightly when shortening your rows, or excessively loosely when lengthening them, you can inadvertantly affect to your stitch gauge . Keep your yarn tension consistent, and only adjust the height of the first loop– “the golden loop”– on your hook. Keep an eye on your stitch gauge so that you are not changing it while adjusting your golden loop.
Also make sure you are checking your crochet pattern to see if the gauge dimensions are blocked or unblocked. If the gauge is “blocked”, you’ll need to block your garment BEFORE measuring.
Yes, it takes more time. But also— yes, it’s worth it to be sure you are on the right track with your gauge!
For more information about blocking, check out this post.
Wrapping it up
The golden loop trick is great to try when you’re having trouble meeting the row gauge in a crochet pattern. This technique helps you adjust ONLY the height of your rows without changing your stitch gauge.
Keep even tension while you are working, only changing the height of the golden loop. This way you don’t accidentally throw off your stitch gauge.
Follow the instructions in your pattern closely– take note if the swatch should be blocked or not before measuring.
Good luck! Comment below and let me know if you tried this out and if it helped with your gauge struggles!


 Crocheters & Knitters: Try this easy move to take care of your shoulders… no equipment needed!