
Would you like to learn how to make a floofy textured crochet hat that can be completed in just a couple of hours?
I had such a blast writing up this crochet hat pattern. I’ve included written instructions for 4 different sizes: child, teen, small adult, and large adult, so you can match it up with your family!
The Floofster Hat uses simple crochet stitches. All you need to know to complete this pattern are how to: chain, slip stitch, half double crochet, double crochet, front post half double crochet, and back post half double crochet
Keep on reading for a FREE crochet hat pattern that is easy to follow and works up in a jiffy!
Disclosure: Some of the links in this post are affiliate links and if you go through them to make a purchase I will earn a small commission at no additional cost to you.
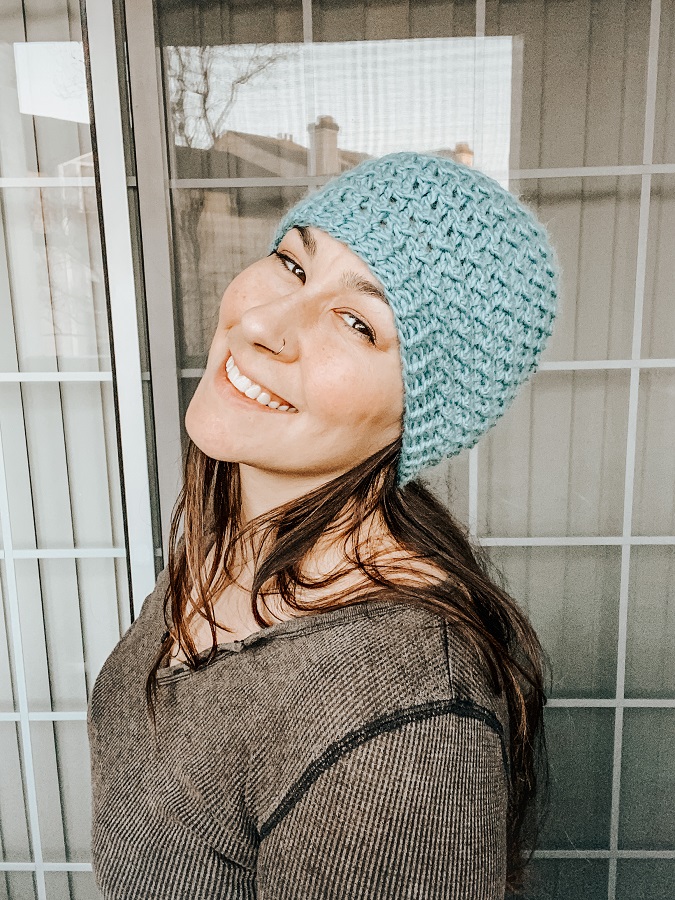
Crochet hats are such a great quick-win project. I just love how fast they work up, and how creative they can be. Many crochet hat patterns can be finished in just an hour or two!
My first ever crochet project was actually a hat! I had just learned to knit and was struggling to make a simple scarf. I went searching for help on YouTube, and stumbled across some crochet tutorials. Crochet looked so FUN, simple and quick! I gave it a try to take a break from knitting, and it just clicked for me. Right away I was able to make a hat that actually looked pretty good!
Fast forward a few years, and now a crochet designer, I realized I had yet to write my own crochet hat pattern. The last two designs that I worked on were both fingering weight sweaters. Beautiful drape and fit, but they were a very loooong process to create for sure.
It was time to switch things up and work with some thicker yarn for a change. I wanted to make a fun project that can be finished in just a couple of hours. And thus, the idea for The Floofster Hat was born…
PURCHASE THE AD-FREE PATTERN PDF HERE.
The Floofster Free Crochet Hat Pattern
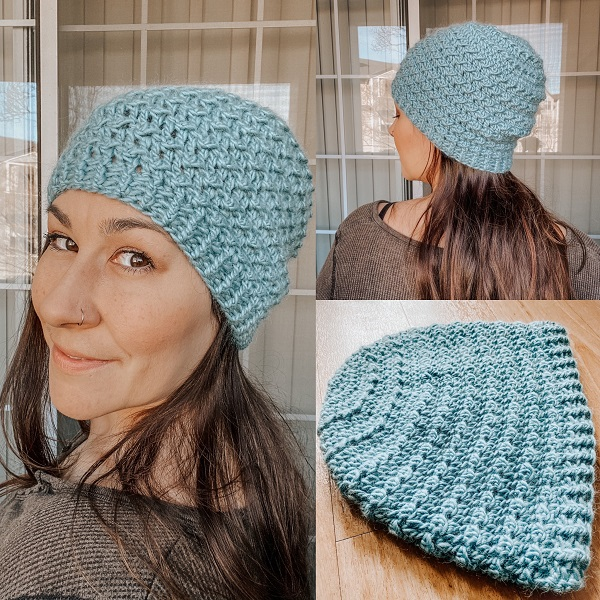
MATERIALS
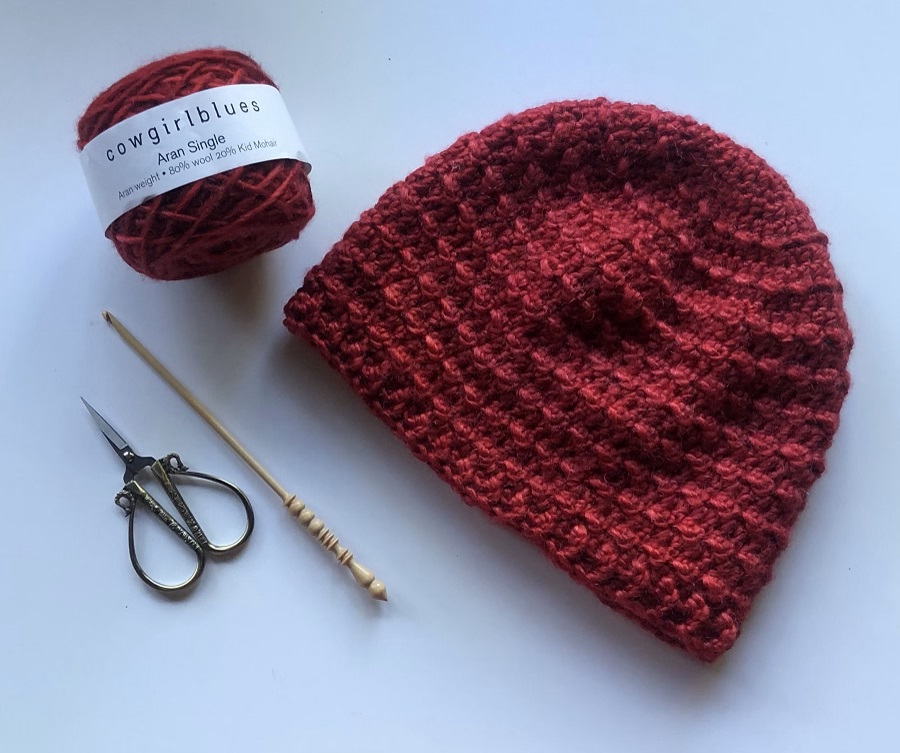
The Yarn: Worsted Weight Sample made in Cascade Highland Duo: 70% Baby Alpaca / 30% Merino Wool
The first time I touched some alpaca yarn, I fell hard. It’s so buttery and soft and I needed it to jump in my cart and come be with me forever. I ordered some Cascade Highland Duo from Lovecrafts and had no idea what I wanted to make with it. I just knew I had to have it. When this hat idea came to mind, I knew this yarn would be PERFECT.
Hook: 5.5 mm It’s okay to size up or down as needed so that you meet gauge. The single most important thing when following a crochet pattern is meeting gauge if you want your hard work to fit correctly!!
Tapestry Needle
Scissors
Optional: 1 removable stitch marker to mark the first stitch of the round.
Hat Gauge:
14 sts & 11 rows in texture pattern = 4 x 4 inches
Texture Pattern Swatch Instructions:
Note: 2 extra sts are included for more accurate measurement of your gauge swatch.
R1: Ch 18, dc in the 3rd ch from hook & in each ch across, ch 1 & turn. (16 dc)
R2: (ss in next st, dc in next st) across, ch 2 & turn.
R3: dc in each st across, ch 1 & turn.
Repeat R2-3 four more times.
After completing your gauge swatch, measure 4 inches across to how many stitches you have, and 4 inches up and down to count how many rows- if you have more than 14 stitches & 11 rows size up to a bigger crochet hook and try again. If you have less than 14 stitches & 11 rows, size down your crochet hook and try again.
Pay special attention to the fabric created. Some yarns, even when they are the correct weight that the pattern calls for (i.e. worsted, aran) may not work well at a particular gauge. Too tight a gauge for the yarn can become stiff. Too loose a gauge for the yarn can become airy and unstructured.
If you get gauge, but the fabric doesn’t work well, you may need to try swatching with a different yarn.
Crochet Hat Sizes & Measurements:
| Sizes | Finished Circumference | Finished Length | Estimated Yardage |
| Child (18-20”) | 17” | 7.5” | 110 y |
| Teen (20-22”) | 19” | 8.5” | 135 y |
| Small Adult (21-23”) | 20” | 9” | 150 y |
| Large Adult (22-24”) | 21” | 9.5” | 170 y |
Skill Level: Advanced Beginner
Techniques & Abbreviations (U.S. terms):
approx- approximately
beg- beginning
bphdc- back post half double crochet
ch- chain
dc- double crochet
fphdc- front post half double crochet
hdc- half double crochet
rs- right side
sk- skip
ss- slip stitch
sc- single crochet
st(s)- stitch(es)
ws- wrong side
Pattern Notes:
- This hat is made top down, in the round. Follow instructions for each round carefully as some turn & others do not. All rounds are completed on the right side unless marked WS. Textured pattern is always worked on the wrong side.
- The chain 2 on wrong side rounds counts as a stitch, meaning the first stitch of the round will be worked in the second stitch from the chain.
- The chain 1 at the beginning of RS rounds does NOT count as a stitch, meaning the first stitch of the round will be worked in the same space as the chain.
PATTERN INSTRUCTIONS
All Sizes:
R1: Ch 3, ss to the first ch. ch 2 & make 8hdc in the center of the circle. ss to the first hdc. ch 1, do not turn. (8 hdc) *you may use magic loop if you prefer
R2: 2 hdc in each st around, ss to the first st. ch 1, do not turn. (16 hdc)
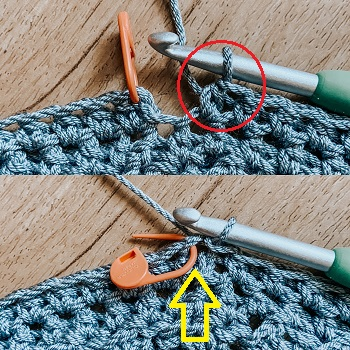
How to Close the Round: Tip- mark the first st of the round, so when you come back around it is easy to spot. The top photo shows a circle around the last completed st of the round. It looks like there could be one more st, but that is the st below the ch 1, do not hdc there. The bottom photo shows the ss to the marked first hdc.
R3: (1 sc, then 2 sc in the next st) around, ss to the first st. ch 1, do not turn. (24 sc)
R4: (1 hdc in each of the next 2 sts, 2 hdc in the next st) around, ss to the first st. ch 1, do not turn. (32 hdc)
R5: (1 hdc in each of the next 3 sts, 2 hdc in the next st) around, ss to the first st. (40 hdc)
R6(WS): Ch 2 & TURN, ss in the 2nd st from ch, *hdc in the next st, ss in the next st. repeat from * to the beg of round. ss to the 2nd ch of ch 2. ch 1 & turn.
R7: (1 hdc in each of the next 4 sts, 2 hdc in the next st) around, ss to the first st. ch 1, do not turn. (48 hdc)
R8: (1 hdc in each of the next 5 sts, 2 hdc in the next st) around, ss to first st. (56 hdc)
R9: rep R6
Size Child Only:
R10: (hdc in each of the next 13 sts, 2hdc in the next st) around, ss to the first st. ch 1, do not turn. (60 hdc)
R11: hdc in each st around, ss to first st.
R12(WS): Ch 2 & TURN, ss in the 2nd st from ch, *dc in the next st, ss in the next st. repeat from * to the beg of round. ss to the 2nd ch of ch 2. ch 1 & turn.
R13: dc in each st around. ss to first st.
Alternate R12-13 until hat measures approx 6.5” or until hat is 1” shorter than desired total length. Be sure to end on a dc round.
Continue on to Bottom Ribbing.
Size Teen Only:
R10: (1 hdc in each of the next 6 sts, 2 hdc in the next st) around, ss to the first st. ch 1, do not turn. (64 hdc)
R11: (1 hdc in each of the next 31 sts, 2 hdc in the next st) around, ss to the first st. (66 hdc)
R12(WS): Ch 2 & TURN, ss in the 2nd st from ch, *dc in the next st, ss in the next st. repeat from * to the beg of round. ss to the 2nd ch of ch 2. ch 1 & turn.
R13: dc in each st around. ss to first st.
Alternate R12-13 until hat measures approx 7.5” or until hat is 1” shorter than desired total length. Be sure to end on a dc round.
Continue on to Bottom Ribbing.
Size Small Adult Only:
R10: (1 hdc in each of the next 6 sts, 2 hdc in the next st) around, ss to the first st. ch 1, do not turn. (64 hdc)
R11: (1 hdc in each of the next 9 sts, 2 hdc in the next st) around until 4 sts remain, hdc in each remaining st, ss to the first st. (70 hdc)
R12(WS): Ch 2 & TURN, ss in the 2nd st from ch, *dc in the next st, ss in the next st. repeat from * to the beg of round. ss to the 2nd ch of ch 2. ch 1 & turn.
R13: dc in each st around. ss to first st.
Alternate R12-13 until hat measures approx 8” or until hat is 1” shorter than desired total length. Be sure to end on a dc round.
Continue on to Bottom Ribbing.
Size Large Adult Only:
R10: (1 hdc in each of the next 6 sts, 2 hdc in the next st) around, ss to the first st. ch 1, do not turn. (64 hdc)
R11: (1 hdc in each of the next 7 sts, 2 hdc in the next st) around, ss to the first st. (72 hdc)
R12(WS): Ch 2 & TURN, ss in the 2nd st from ch, *dc in the next st, ss in the next st. repeat from * to the beg of round. ss to the 2nd ch of ch 2. ch 1 & turn.
R13: (1 hdc in each of the next 35 sts, 2 hdc in the next st) around, ss to the first st. ch 1, do not turn. (74 hdc)
R14: repeat R12
R15: dc in each st around. ss to first st.
Alternate R14-15 until hat measures approx 8.5” or until hat is 1” shorter than desired total length. Be sure to end on a dc round.
Bottom Ribbing:
R1: ch 2 (bphdc, fphdc) around, ss to 1st st, do not turn.
Repeat R1 until ribbing is 1” total.
Fasten off, weave in ends, add a pom if you’d like & enjoy your floofy textured hat!
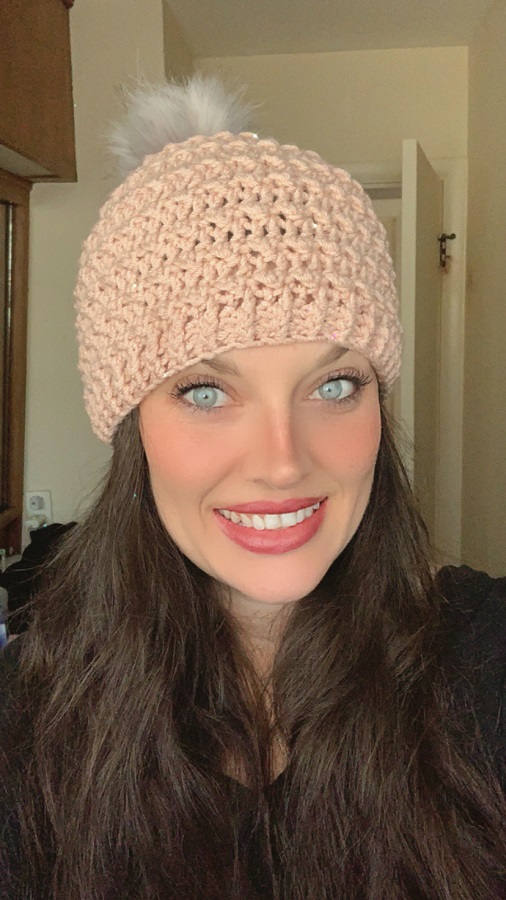
Check out some beautiful tester photos!



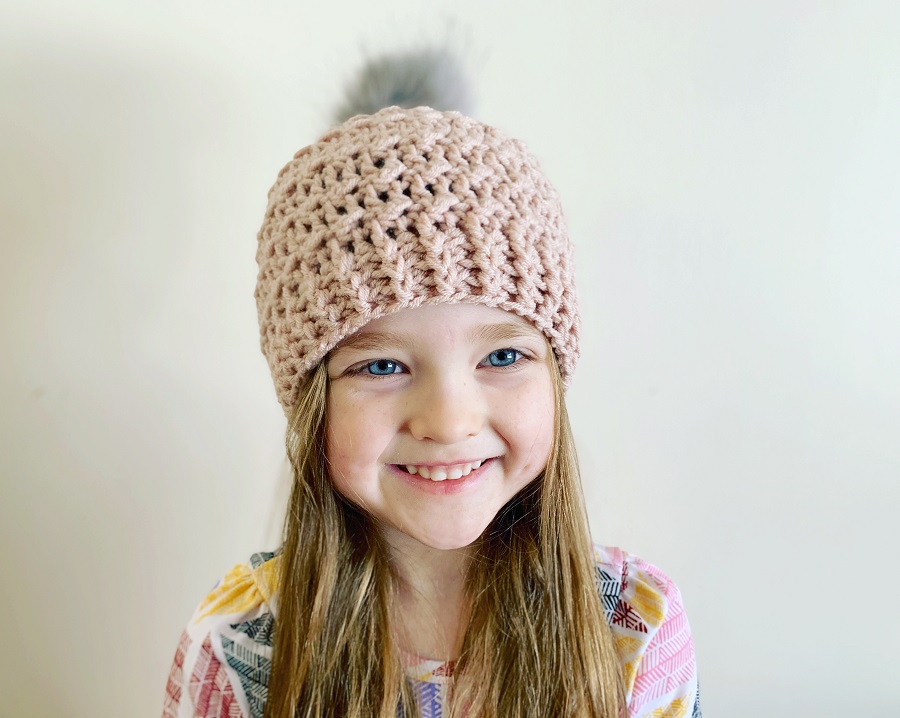
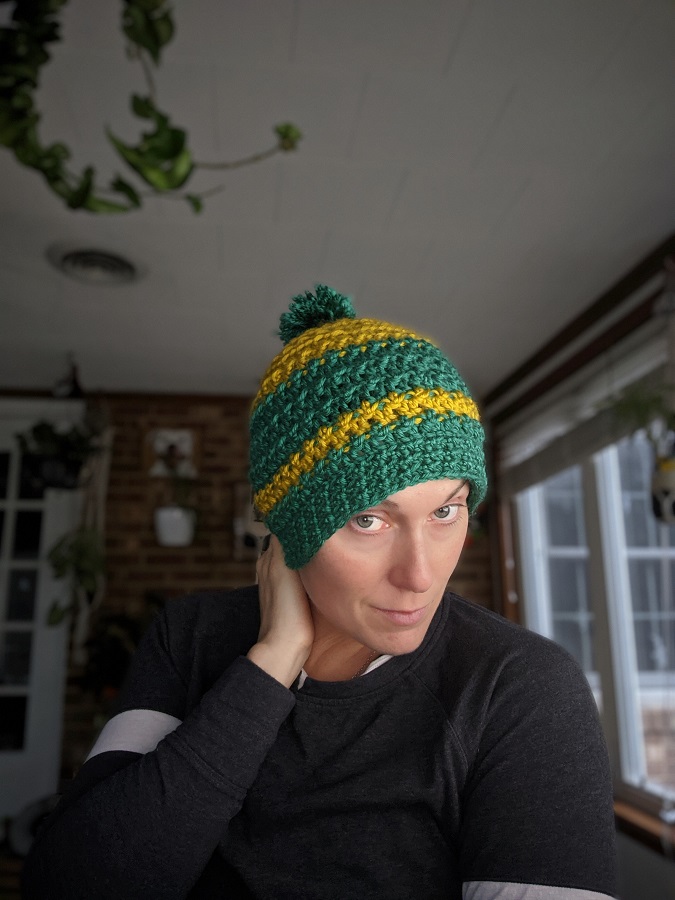


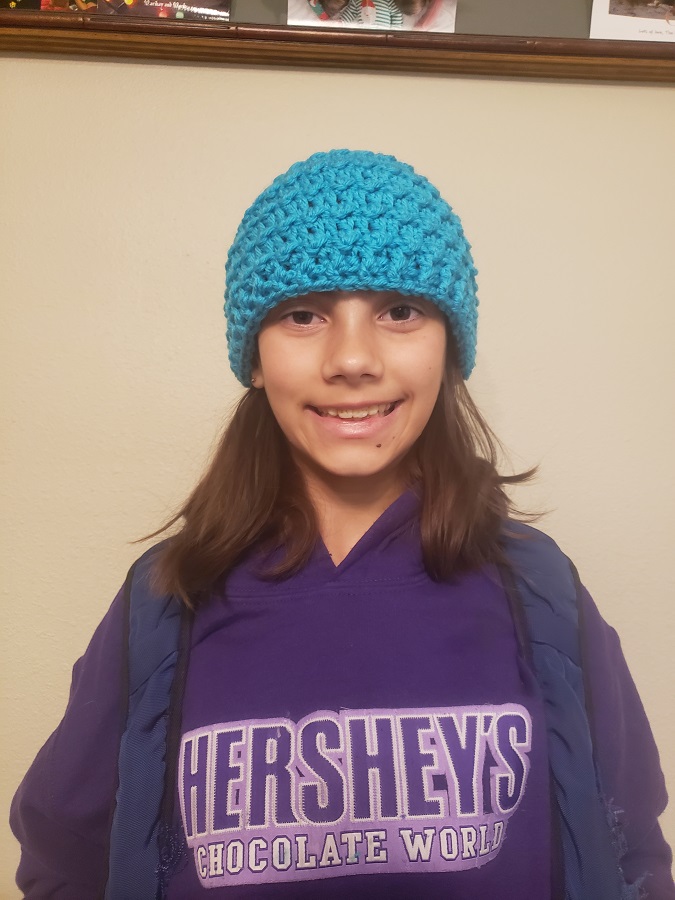
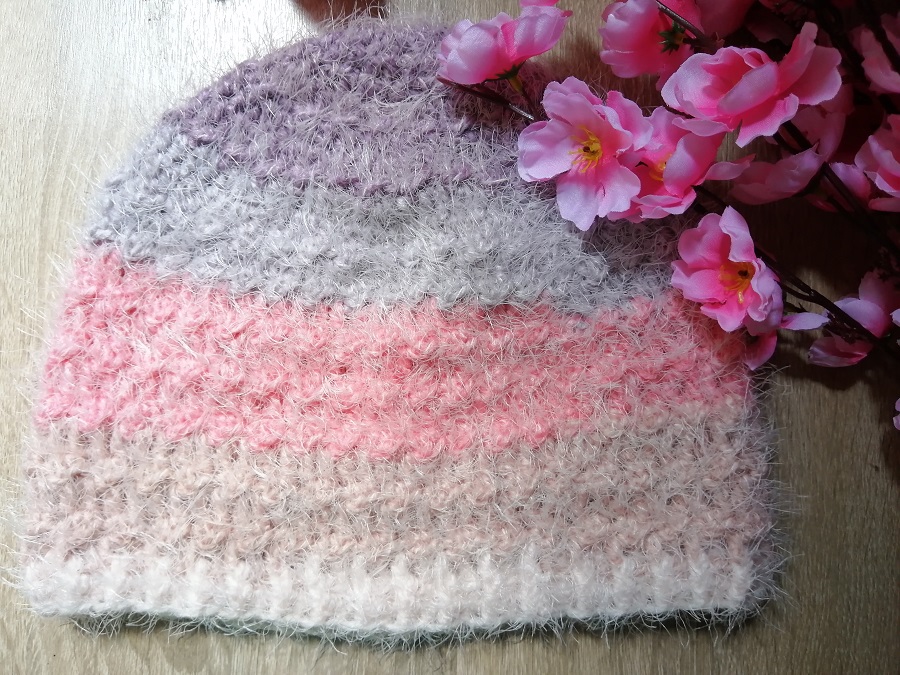
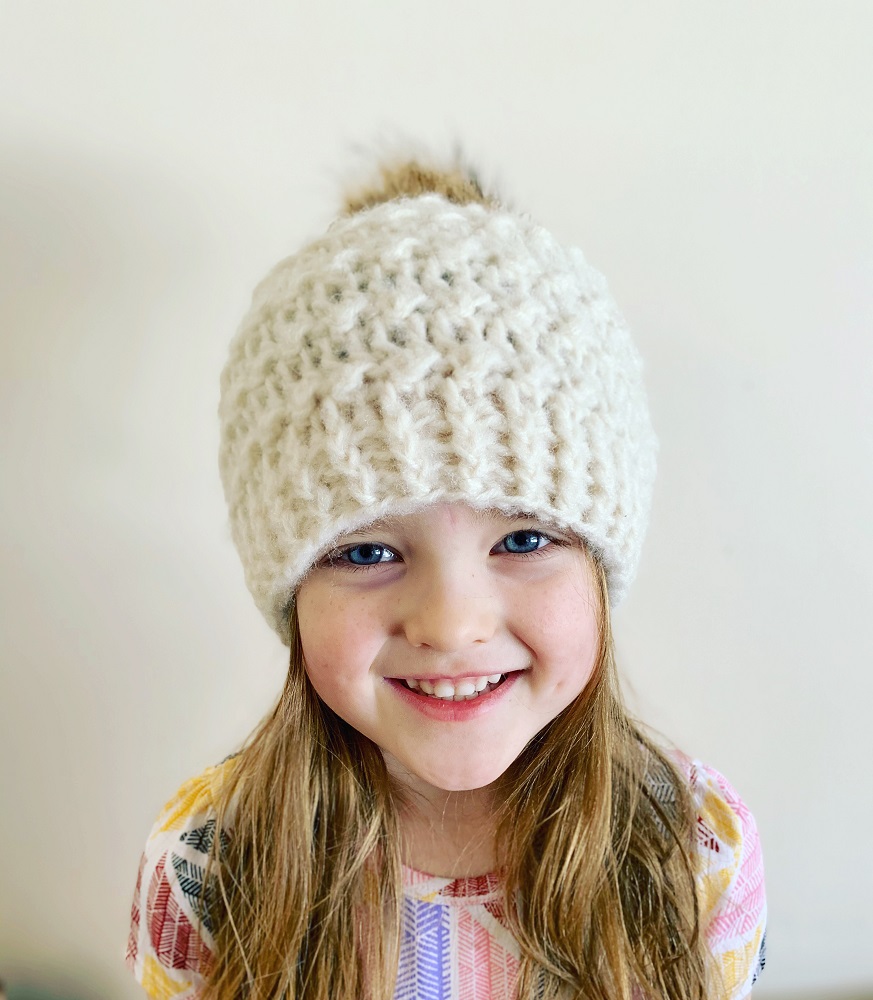
Thank you so much for checking out my first crochet hat pattern- The Floofster. I’ve already got some more new hat patterns in the works and coming very SOON. Crochet hats are so fun to make! They are one of my absolute favorite quick-win projects. They’re perfect for when you need a break from big projects (like garments) which could take multiple WEEKS to complete.
I hope that you have enjoyed following this free crochet hat pattern! If you would like a copy of the ad-free pdf, you can purchase that HERE. If any questions come up along the way, don’t hesitate to contact me via email at tigerseyehandmade@gmail.com
I would love to see your finished hat! If you post it on IG please tag me @tigerseyehandmade & use the hashtag #TheFloofsterHat to share it with the group!
More Quick-Win Crochet Patterns
The Winter Tide Infinity Scarf is another fun and quick project full of delicious texture. It’s a circle scarf that can be made with just one ball of Lion Brand Scarfie.
Hang out with me on Instagram!




 My Favorite Tip for Seaming Crochet Garments